Here we will learn how to weld in Cricut Design Space and why it is so important. Welding is an easy process in Design Space where you can weld shapes, images, and fonts with the weld tool. This amazing tool helps you to join the different shapes and texts together to form a single image by discarding cut lines. It also lets you create a shape by combining multiple designs. Hence, you can use the Weld tool to simplify and customize a design and keep the letters connected as a whole word.
Let’s see how to weld texts and images individually. It takes a few steps to weld something in the Cricut Design Space.
How To Weld Texts In Cricut Design Space?
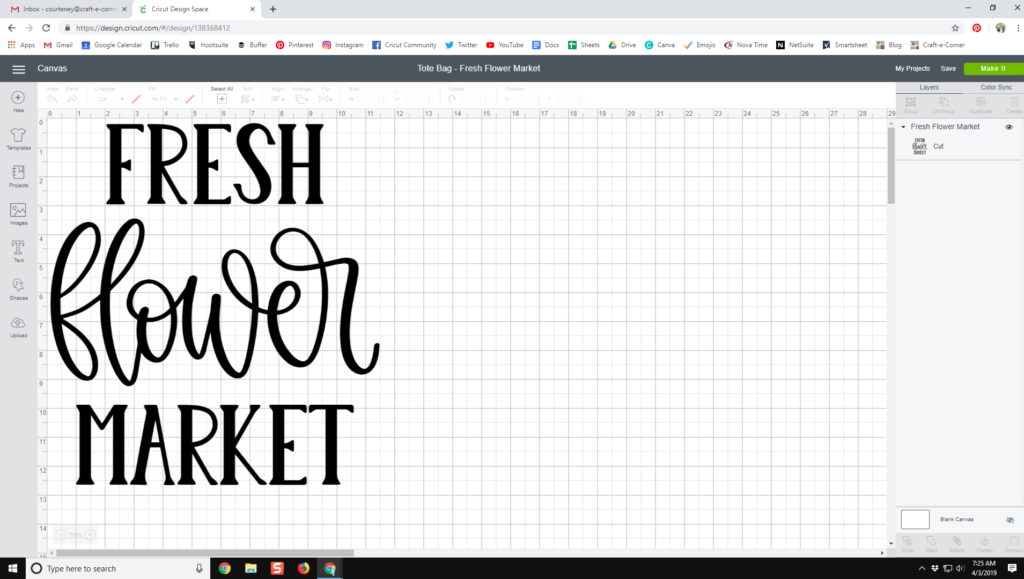
While writing text in the Design Space, the text may not appear as you like. Or maybe you just want to customize the letters. See, when you type a font, all letters are separate, unlike in Microsoft Word, where every letter combines to form a word. For instance, if I type “Hello” into Design Space and use a cursive font, then it will look like as given in the picture.
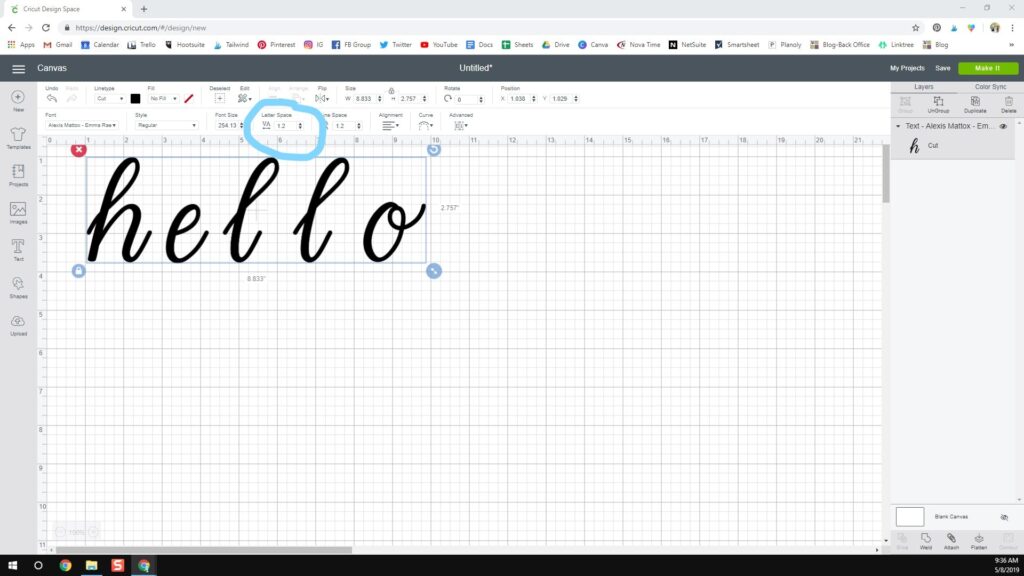
As you can see, all the letters are separate but suppose if we don’t want it to appear like it, we can weld them together. There are two ways to do it. The first way is to click on the text to get selected. When there is a blue box around your text, it means it’s selected. Then, go to the top of the screen and look where it shows “Letter Space.” And then decrease the spacing in order to close the letters. Similarly, you can use this feature to increase the space between letters. My method is to click it down until the letters are arranged as I want to.
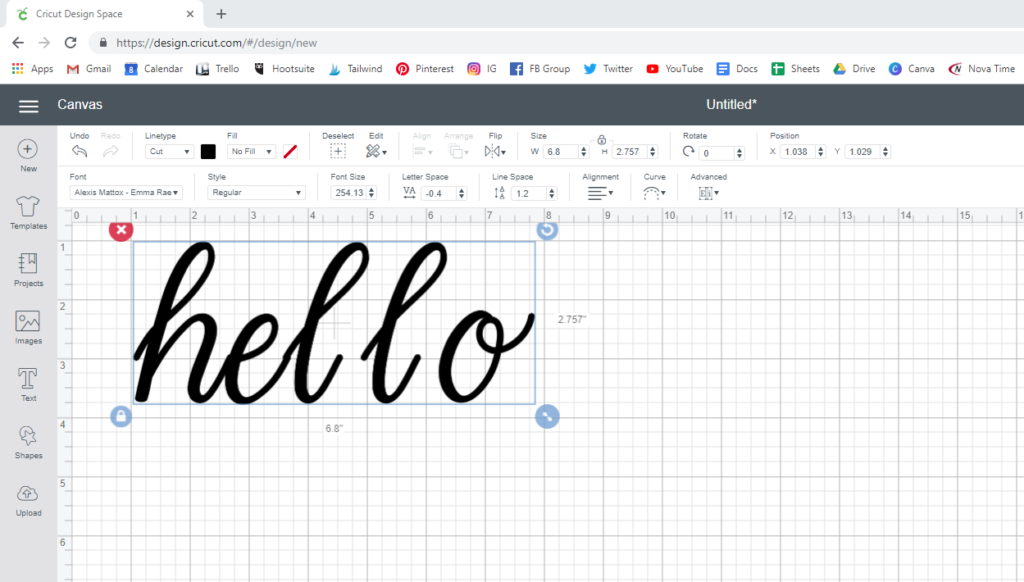
But I don’t like that the letters start overlapping each other. Hence, it doesn’t seem like a perfect method to weld the letters. You can see the example below; the spacing is not accurate, which is why we do it manually. For this, you have to ungroup your text. To do this, select your text so that you see the blue box around it. After selecting, click “Ungroup” in the top right corner under “Layers.”
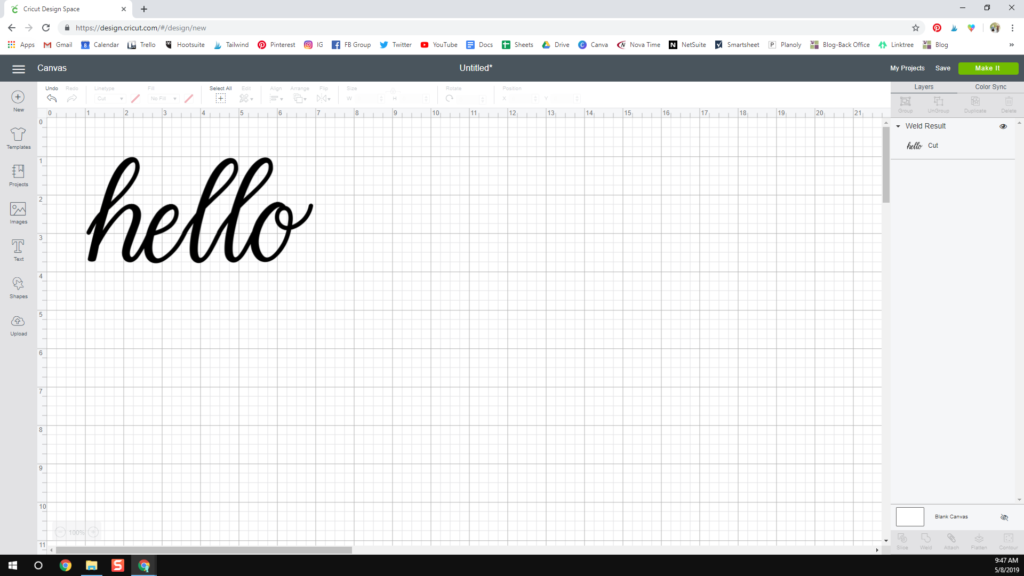
After ungrouping it, all the letters will separate again. Now, you can move them separately. Let’s learn to move the letters manually, so they get a little close now. The letters need to be welded together and slightly overlapping. You can move letters by tapping your keyboard’s left and right keys. Either you can click and drag and move the letters over. Also, ensure to be careful so that everything is lined up correctly. Now, finally, arrange your letters how you want them to look.
How To Weld Images In Cricut Design Space?
Similarly, like welding text, welding images is also easy-peasy. Today I’m making a cake topper in Design Space to make you get how to weld images. To do this, I’m inserting two squares into the Design Space. I’m coloring them pink and purple to see the difference when I overlap them.
After that, I will reshape them so that I can make a cake topper out of them. As you can see that when you click on an image, you can use the arrow in the bottom right corner to reshape it. You will need to unlock it and transform your shape as you want to. I will unlock one of them to form a skinny rectangle and a rectangle for the top.
Now, place those two images on top of each other. Now you have an overlapped image for making the cake topper.
After overlapping them over each other, you will have to group them. Then, click on the image individually while holding control on your keyboard, or you can click and drag the mouse until a blue square comes and then drag it through all the items you want to be welded.
Once you group them, get ready to weld them. Then click the “Weld” option in the bottom right corner of the screen. One point to understand is that if you hit weld and did your project, you can’t unweld as there is no button to unweld. However, you can click the “undo” button at the top left-hand side of the screen.
But once you finish your project and come back to your canvas, you won’t be able to click undo or unweld. Hence, if you are not sure if you want to weld, I would advise you to group them together.
How To Weld A Shape In Cricut Design Space?
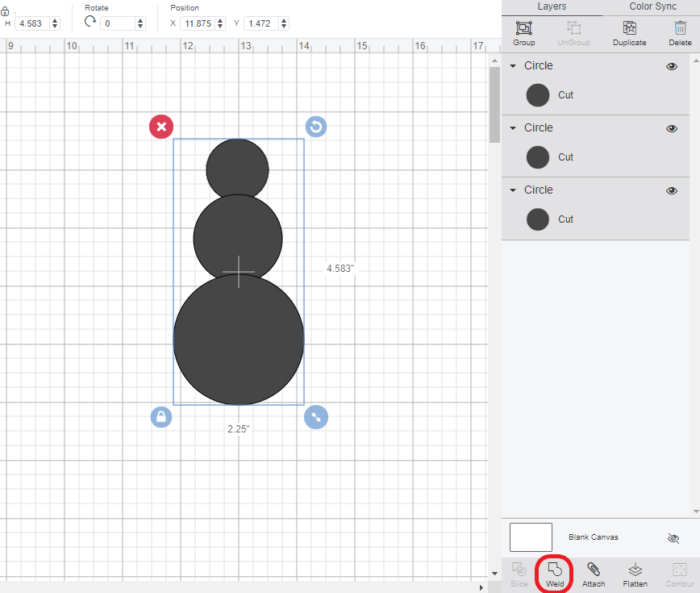
First, select the shape that you have to use in the shapes present in the left menu. As you can see in the image below, there are different-sized circles to create a snowman shape.
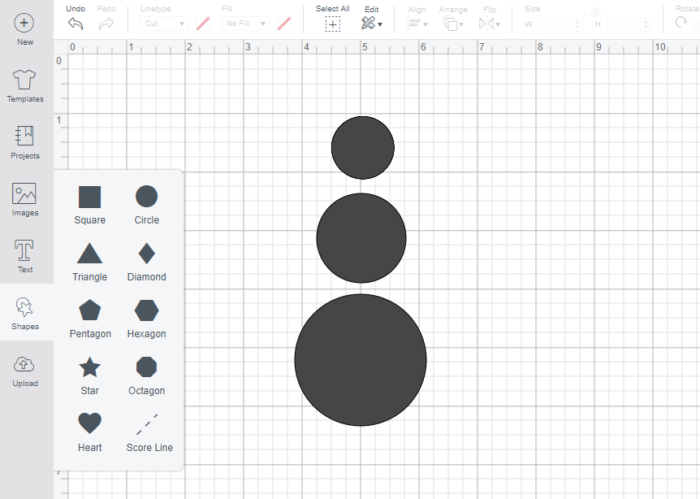
You need to arrange the shapes as you want them, but ensure they overlap. Our shape is overlapping, and if we didn’t weld them, they would form three different circles.
Then, select all the shapes and press Weld.
Now, the shapes will be joined as a single shape.
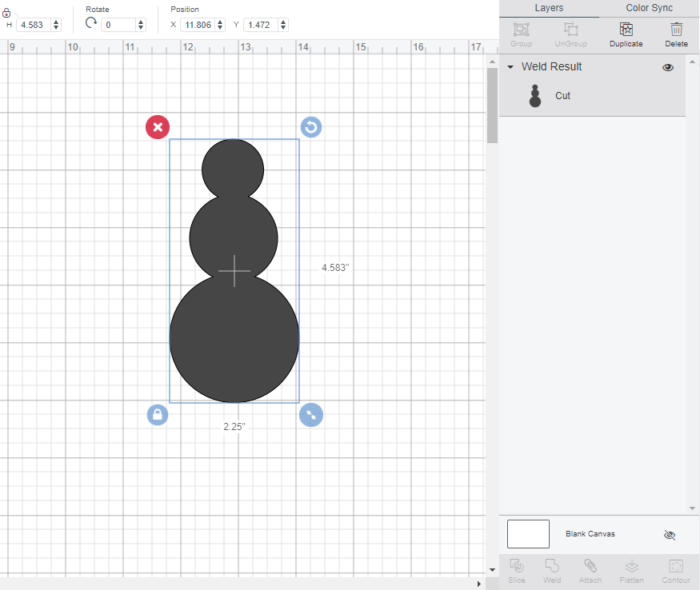
Once welding the shapes, you can’t rearrange them. If you desire to make further changes, you can edit the welded shape by pressing the Undo button.
Conclusion
This was the shortest guide on how to weld in Cricut Design Space. You can, too, try out the tips to make your design. Remember our advice not to hit the weld button if you aren’t sure about the design, as it might be frustrating to undo it. However, undo is not a bad option to go for. Still, select your design carefully, so you don’t have to reverse it after welding.