
If you’re ever wondering about how to make a shirt with Cricut, you are at the right place. This complete guide will teach you important points and steps for making a Shirt. We’ll show you how simple it is to make a shirt with a Cricut machine. All you need to do is carefully go through the blog’s sections.
You will learn how to make professional-looking T-shirts or shirts in a few simple steps. Cricut machines easily intricate any designs with the help of iron-on material that you can simply apply to a blank shirt. You can begin the process of making the shirt by choosing the template in Cricut Design Space.
Let’s jump to the next section and start learning all the step-by-step processes to make an amazing shirt on Cricut.
Materials Required While Making the Shirt
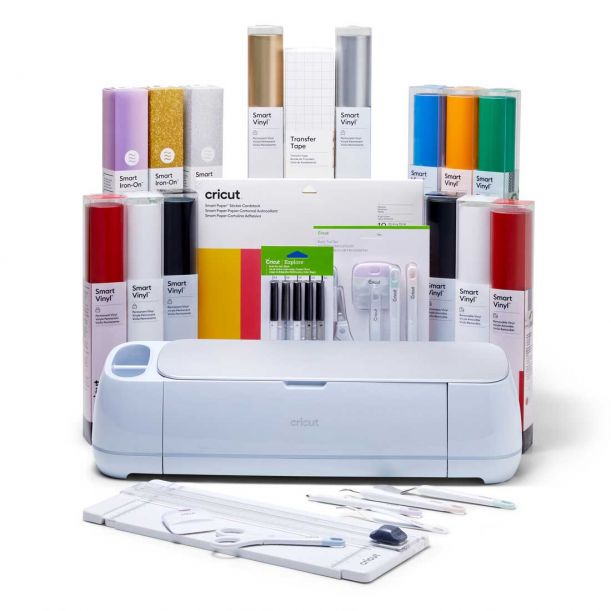
The Cricut is one of the best machines to make designs on Cricut Design Space. But without materials, you cannot make projects with the Cricut. Given below are the important materials that you have to need while making the Shirt. Here are the materials:
- Cleaned cotton plain t-shirt
- Iron-on vinyl
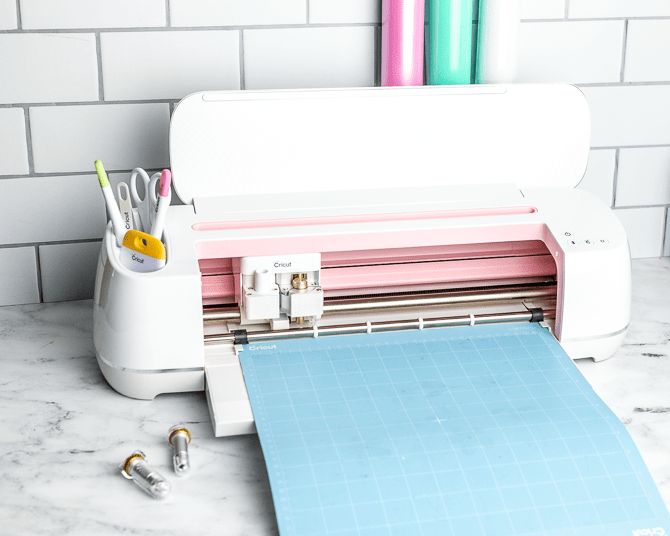
- Cricut machine
- Weeding tools
- Cricut EasyPress mat
- Folded towel
- LightGrip Cutting Mat
- StandardGrip Cutting Mat
- Cricut EasyPress, heat press, or household iron
- Design Space software
- Iron-On Protective Sheet
- Teflon sheets or protective sheet
Which Cricut Machine is Good for Making Shirts?
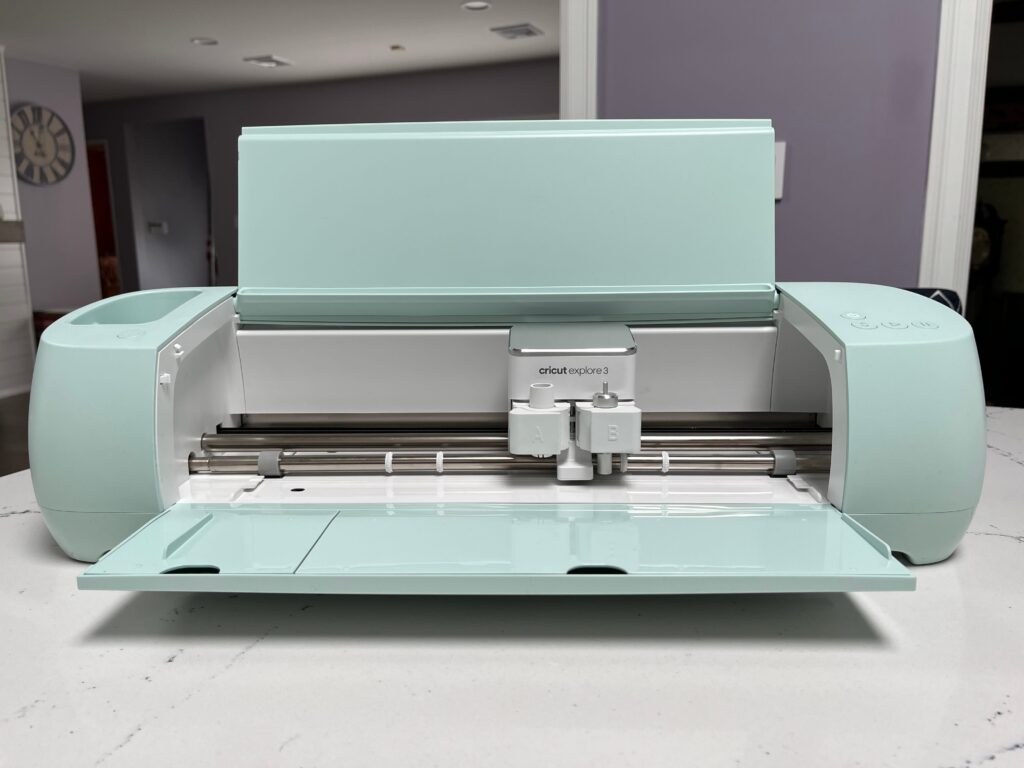
A Cricut is a digital cutting machine that easily cuts over 100 materials and makes them with amazing designs and shapes. Multiple Cricut machines are available in the market, but most of the latest machines easily cut the vinyl for shirts. You can easily connect to your computer or mobile device. After connecting it to your PC or mobile device, you can start commanding it to make your project.
- One of the smaller machines in this family is Cricut Joy. It can easily cut the material into 12” long and 4.5” wide designs on a 12” mat.
- The Cricut Explore 3 and Maker series can make awesome designs. It can simply be cut with a standard mat up to 11.5” square.
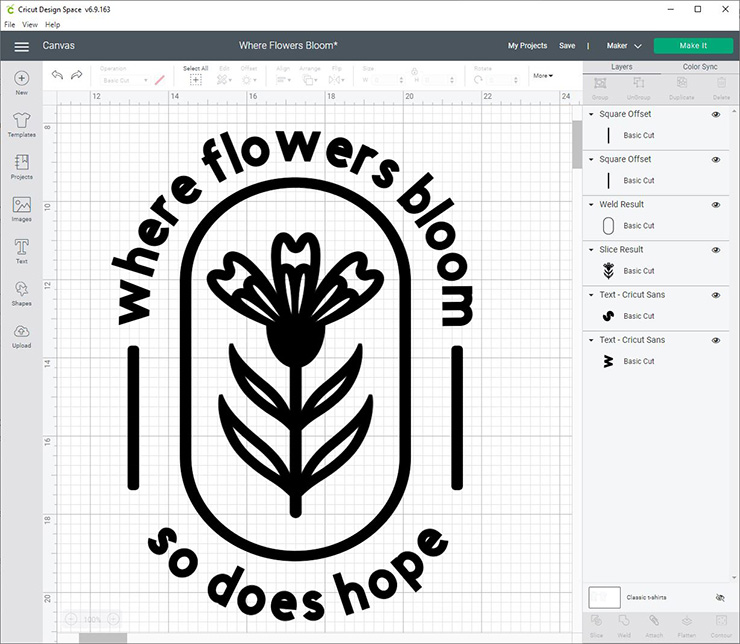
Design a Shirt on Cricut Design Space
You must go through all the steps mentioned in this blog section. Here are the steps:
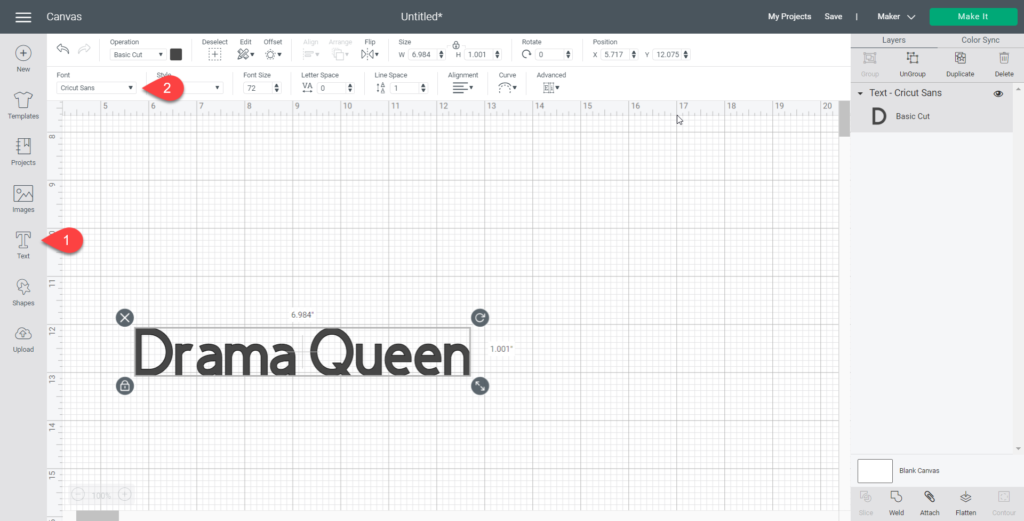
- First and foremost, open the Cricut Design Space and then click on the New Project option.
- Now, on the left side of the Canvas space, you need to choose the templates.
- Go to the search bar and find the shirt.
- Now, you need to choose your type of design for the shirt. I’ll select the classic shirt design option.
- You must select the Upload icon from the left side of the opened window.
- Move forward and click on the Upload Image option from the left side of your window.
- You can easily find the artwork by clicking on the Browse option or dragging the file onto the given space.
- Proceed forward and click on the Browse button. Now, go to the folder to search for the image. In this process, we will use the SVG file.
- Now, make your design by giving the name and tags, and also make sure that it is easily cut. And then, click on the Save option to add the image.
- Next, navigate to the recently uploaded images and then move forward. Now, select the Insert Images option, which is given at the bottom right side of your display.
- Select and move the image to locate it.
- Now, you need to scale it on your shirts properly.
- And then, right-click on the layer group and choose the Weld option.
- When you complete all the scaling and posting processes, now move forward, go to the top right side of your display, and click on the Make It button.
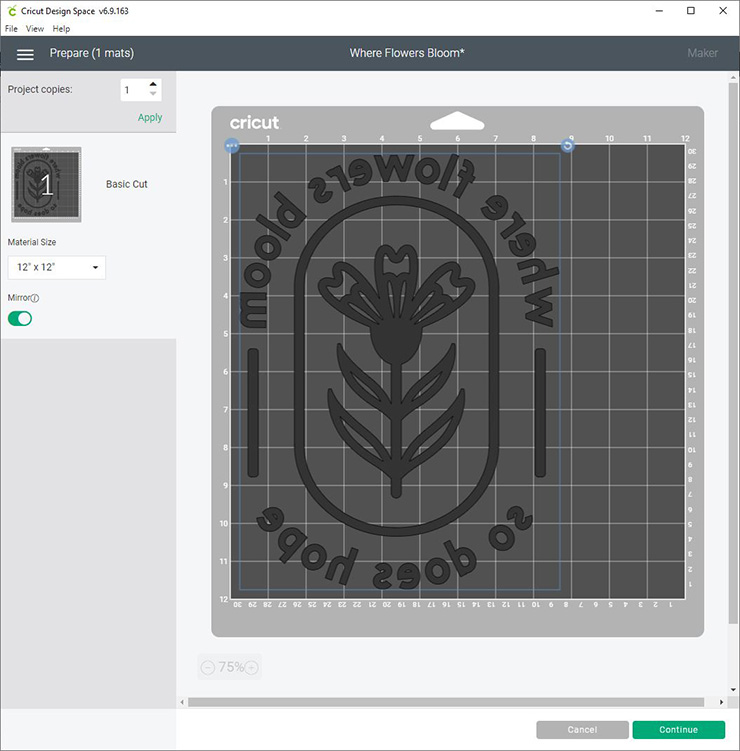
- Proceed and click on the Mirror Option.
- Select the Continue button from the bottom right side of the display.
- Ensure the machine is properly connected to your computer system. Next, select the material option from the display.
- Finally, click on the Expanded Materials and choose the Iron-On.
How To Make a Shirt With Cricut Machine?
After following all the steps mentioned above, you need to go through the instructions below. Here are the steps:
- Initially, create or upload the shirt design.
- You can upload an SVG or image file to the Cricut Design Space.
- You can also select any pre-designed shapes from the Cricut Design Space.
- You can make your own shapes or designs under the Cricut Design Space.
- Now, you need to cut the iron-on vinyl using the Cricut machine.
- Send the design that you create into the Cricut machine.
- Now, move to the top right side of your display and click on the green color “Make It” button.
- Next, select the “Mirror: toggle option to switch it On and choose the Continue button.
- Now, choose the base materials and then select the Iron-On option from the given list of Popular materials.
- And then, you need to cut the design.
- Now, start the weeding process.

- And then, make the shirt ready for the pressing process.
- On your shorts, you need to apply the Iron-On vinyl.
How to Take Care of Iron-On Shirts?
After learning how to make a shirt with Cricut, you need to do some of the important things to enjoy the design long-lasting. You need to take care of the shirt by following the given below process. Here are the steps:
- First and foremost, you need to take care of your vinyl shirt and do this. Wait at least 24 hours after applying the vinyl on the shirt before washing it.
- Now, before you start washing the shirt, you need to turn it inside out.
- You can easily wash it and tumble dry the shirts but keep in mind to avoid all the highest settings of heat.

- And also, remember one thing: do not use bleach powder.
FAQs
Should I buy the Cricut Explore Air 2?
Of course. Cricut Explore Air 2 is the best cutting machine; even the newbie can use it effortlessly. It has a fast speed and intuitive features. The machine uses premium carbide blades, which makes them last longer. Very few vinyl cutter machines have these blades and features. When you find a Cricut machine for beginners, Cricut Explore Air 2 would be a recommendation.
How do I easily get the Cricut fonts in your design?
Here are the steps:
- First and foremost, you need to download the font that you need to use on your design. Carefully download it to the desired folder.
- Now, unzip the downloaded font file folder.
- Double-click on the downloaded font file.
- When the font is installed, go to the Cricut Design Space.
- Create a new task and attach a new layer.
How do you clean the Cricut mat?
There are various types of methods that you need to follow to clean the Cricut mat. Here are some of them that you have to follow steps by steps mentioned above in the blog:
- Clean a Cricut Mat [Felt Off]
- Clean Cricut Mats [Baby Wipes]
- Clean a Cricut Mat [Awesome Spray]
- Clean Cricut Mats [Warm Water and Soap]
Clean Cricut Mats [LA’s Totally Awesome Spray]